Wednesday, August 24, 2016

Christmas Cardinals + Background Technique


Hello Scrapping Cottage friends! Thanks for taking the time to stop and visit today. It's Mary Marsh here bringing you the Wednesday edition of the Blog.

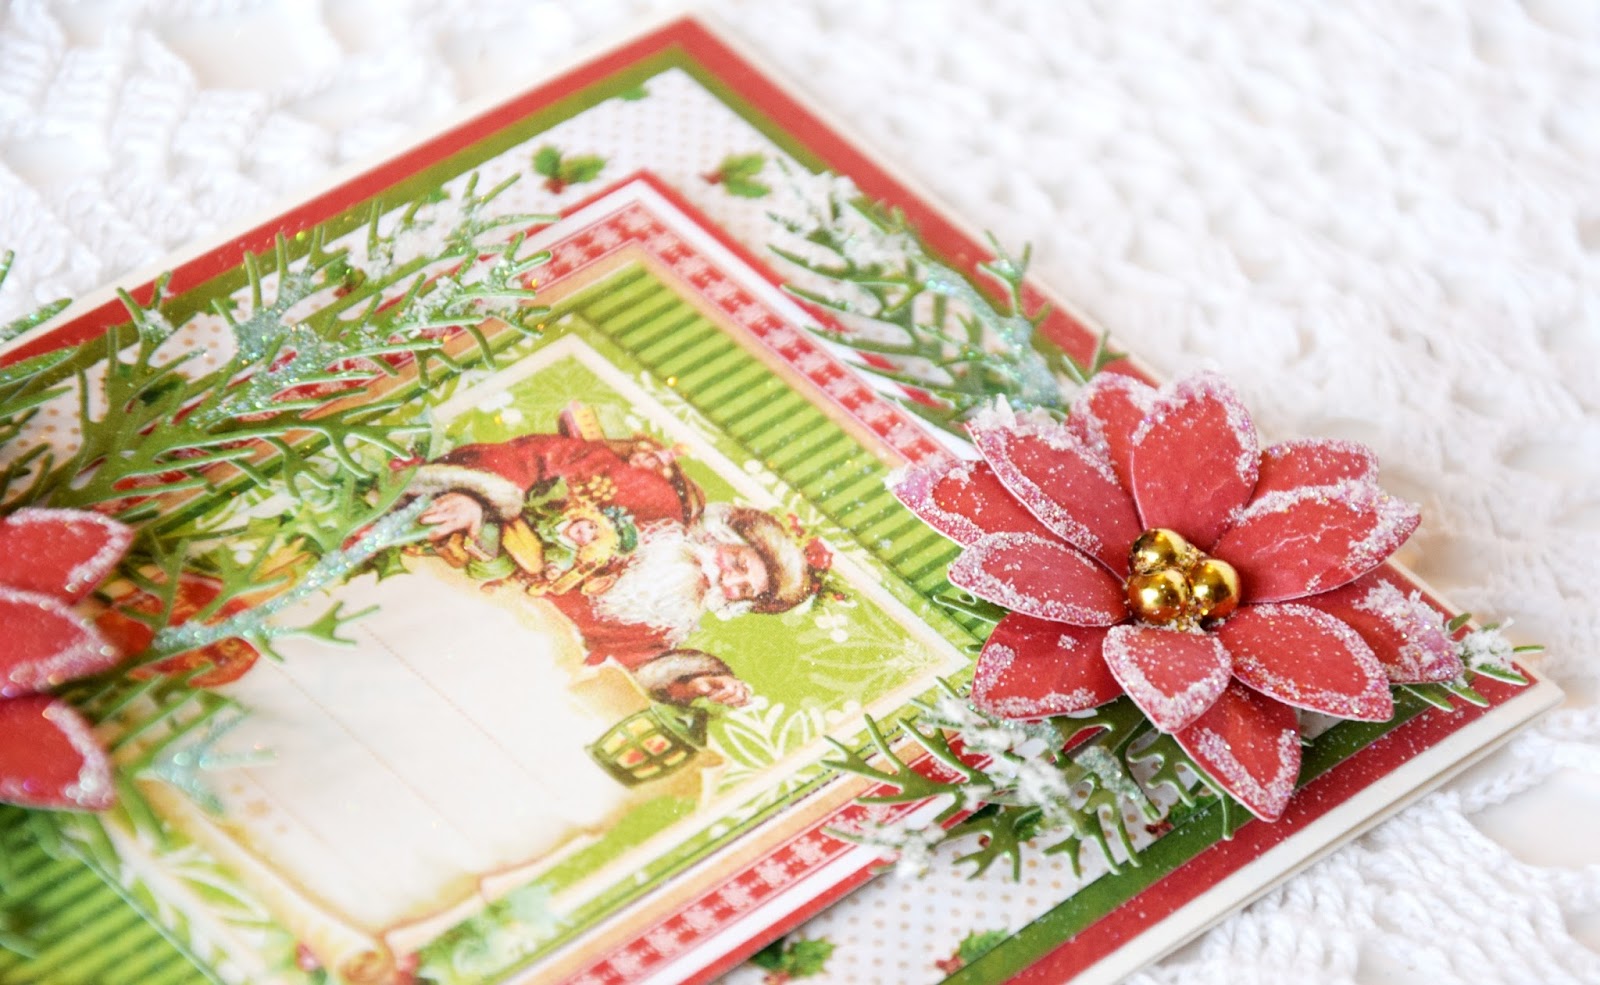
The Design Team has been bringing you some fabulous samples with the new CottageCutz Christmas 2016 dies.  I hope you are being inspired to start thinking about your Christmas cards. I love Christmas time and all the festivities that go with it.

And, I love making Christmas cards. I usually send out around 60 handmade cards each year. I am always on the lookout for cards that can be mass produced. That is where I am taking you today. I am showing a card that would be easy to make a lot of for card giving.

So let's get started with the details on my project.  I am also showing a technique that I tried for the first time and just love the outcome. It's a resist technique requiring just a few simple steps to create a shimmery background. I thought it would be perfect as a backdrop for the Christmas cardinals. It reminded me of a snow squall. I found this tutorial on Splitcoaststampers. Basically here is what I did.

Turquoise Card Base: 5 1/2" x 4 1/4"
Background Panel: 5 1/8" x 3 7/8"

Technique: Faux Mother of Pearl
1.  You need some metallic white paint. I used DecoArt white pearl dazzling metallic.  You use cling wrap and crumple it to use as the applicator for the paint. You will need to use either a craft mat or paper to protect your work surface. This technique gets a little messy. 
2.   I squeezed a small amount of the paint on my craft sheet. Dip the plastic wrap into the paint and pounce it on the craft sheet a few times to work it into the cling wrap and also to remove excess paint. Then you tap it lightly onto your cardstock. Repeat this step until you have your cardstock covered. I left some open area on my cardstock because I wanted the look of snow.
3.  Once you have applied the paint where you want it, set your cardstock aside to dry.
4.  Now it's time to start adding your ink. You can use a sponge, blending tool or even a brayer. I used a sponge on my cardstock. The ink color is turquoise.
5.  I applied the ink all over my cardstock. As you are applying ink your metallic design will start showing through.  The paint will resist the dye ink. Once you have the look you want, take a paper towel and buff the cardstock to remove the ink that is laying on top of the acrylic paint. Then you will see more of the metallic paint design. This creates your faux Mother of Pearl design.
I created several of these backgrounds and it was tough getting a good picture. This background  I didn't use on my finished card but it was the one that cooperated with my camera.
6.  Now that the background is prepared, I decorated it with the Cardinals and Birdhouse dies.  The Merry Christmas sentiment is from the Christmas Santa die set. I used multi-matte adhesive, and dimensional adhesive to attach the die cuts.
 
Well, that's it for me for another week. I hope you have been inspired to give this technique a try even if you aren't making your Christmas cards yet. And. don't forget our birthday challenge is still running until 8-31-16. Get details here.
 
Until next time........inky hugs!


http://www.scrappingcottage.com/cottagecutzmerrychristmassanta.aspx
http://www.scrappingcottage.com/cottagecutzcardinalsandbirdhouse.aspx


Tuesday, August 23, 2016

Warm wishes

Hi, Janja here!

In the last month of the year, once it's cold outside and the holidays are in full swing, there's nothing more enjoyable than a cup of hot drink.   


For the card we need:
- white card base: 4.5 x 5.8" (11,5 x 14,7 cm), folded
- brown cardstock: 4.25 x 5.5" (10,8 x 14 cm)
- white and color cardstock
- burlap
- string
- circle punch
- Distress ink: Peeled Paint, Mowed Lawn, Festive Berries, Aged Mahogany, Antique Linen, Vintage Photo, Black Soot

Paste a burlap on white paper and cut it to size of  4 x 5.25" (10,2 x 13,3 cm).


Punch two half-circle with a small circle punch 1.2" (3 cm) from the bottom edge. Place a string and tie it in a bow. 


With the die peppermint latte prepare cutouts. Shadow them with Distress inks and compose.
Stamp "Merry Christmas" in red.


Complete the card.


And don't forget on our challenge #5 - birthday card. You have time to share your projects with us till the end of the month. 

Enjoy and have fun.


Sunday, August 21, 2016

Christmas card with 3D Flowers

Hello friends!
Thanks for taking the time to stop and visit today. This is Yuliya here). It's here share some of the new Christmas release with you!
And I will be sharing how to make this Christmas card using the CottageCutz dies.

Here is list of all supplies I usedCottageCutz Dies:
- CottageCutz Spruce Stems- CottageCutz 3D Flower 1
- CottageCutz Spruce Stems
Other: Sizzix machine, glue, patterned paper, cardstock, flower soft, glossy accents


Follow the pictures below for making this card step-by step
1. Size my cardstock - 30 cm* 10 cm. Fold it. And size my card - 15 cm*10 cm. Prepare patterned paper for base. 
 2.
3.
 4.
 5. 
 6.
 7.

8.


I hope you like this card. Have fun creating. And don't forget, fifth CottageCutz challenge is waiting for you. This time theme is BIRTHDAY CARD. You can linked your project here. And please, use only Scrapping Cottage dies.


Saturday, August 20, 2016

TRI FOLD CHRISTMAS CARD

Hello everyone !!!

How are you all doing ?? Are you having fun with all the gorgeous Christmas inspiration?? It's indeed so exciting that the Great day is just 3 and 1/2 months away but the air is filled with spirit of joy. Card making is in full swing everywhere and new designs are making a show everyday. On this ocassion, CottageCutz has come up with amazing Christmas theme dies and many more are still on the way. The new one released just a few days ago are the cutest and most beautiful ones.

Today I'm sharing a Tri fold long Christmas card with you and the twist is that , it is made of envelopes. Yes!!! We can effectively use envelopes to create card bases. This saves a lot of time especially when we have to make a lot of cards.
I am sharing here the pictures as to how I have prepared my card base. The close ups of the various parts of the card will explain you , how I have built up my card.

Here is my card.


  The finished card measures 8.75inches x 4.5 inches.
 You need  three long envelopes 8.75 inches x 4.5 inches that open side ways on the elongated side.
Place the envelopes side by side like this with two envelopes on either side flap side up.


Join the envelopes together. Adhere the flap of the envelope on the left side with envelope in the middle and repeat with the other side.

Cut out pattern papers a little smaller than the envelope to cover the card front, inside and back. Here I have used pattern papers and  stamp from Heartfelt Creations .


Add ribbon and now adhere the pattern paper.


Decorate the card with CottageCutz dies. Add an embossed pattern paper and cover with CottageCutz Wide rectangle stitched frame. Cut die cuts from Holiday bell and layer upon a scrap of paper. Add glitter. Adhere to the card. Add die cut  from the Merry Christmas ribbon.


On the first panel add die cuts from CottageCutz Garden stamp and Winter Cabin Border.


Add die cut from CottageCutz leafy swirls and Best Wishes die cut.


 The finished inside panel


Dies used are listed below.


A fabulous challenge# 5 is going on at the blog and we would be really happy to see your entries.