

Hello CottageCutz friends! Thanks for taking the time to stop and visit with us today. It's Mary Marsh here bringing you the Friday edition of the Blog.
It's new release time!!! We have new dies in the online store. It's time for our Christmas release and we have 21 new designs for Christmas Part 1. They are currently on sale for 30% off retail.
There is a great selection of religious, whimsical and some super cute birds and animals. All of your Christmas card making ideas are covered in this release. Today for your viewing pleasure, I am using the new Nativity Stable Shepherd & Animals, Nativity Holy Family & Wisemen & Nativity Camel, Palm Tree & Angel dies.
I have another fun fold card and this one is a screen divider card. I thought this fold and dies I used tell the Christmas story across the four panels. So, let's get started with some details of how I created my card.


 I used this same method to cut the other 2 panels. It made lining up the cuts so much easier using this method.
  Next, I cut the image panels. I found this starry night designer paper in my collection and decided to use it as the backdrop for my Nativity images.
Design Steps:
I started this card by getting the screen divider cut and scored. The red panel measures 5 1/2" x 11" and is scored at 2 3/4", 5 1/2", 8 1/4". I put a pencil mark at 1 3/8" on the first panel. This is the center of each panel and where I will place my punch to cut the base of the screen card.

There is a notch on the punch that I aligned with the pencil mark I made. I will make this same punch across each panel.

I folded the first punched panel back on itself to use as my guide for cutting. I forgot to take a photo of this in the red cardstock. I was going to use blue cardstock originally and then changed my mind.


white layering panel: 2 5/8" x 4 7/8"
designer paper layer: 2 1/2" x 4 3/4"
 Now for the images I am using. I cut all of them from white cardstock. I like the contrast against the dark blue background.


For the image panel sentiments I used the Silent Night Forest die. and Joy to the World Tree die (Christmas 2019 collection). I also cut these in white cardstock.

The last panel is a stamped sentiment. I cut with the 3rd largest Oval die (2 3/8" x 1 3/8") To complement the sentiment I added a Christmas Star from the Journey to Bethlehem (Christmas 2018) die. I cut in yellow cardstock and added some wink of stella.


This is an A2 size card does fold flat for mailing. It fits in the regular size envelope I mail my cards in.

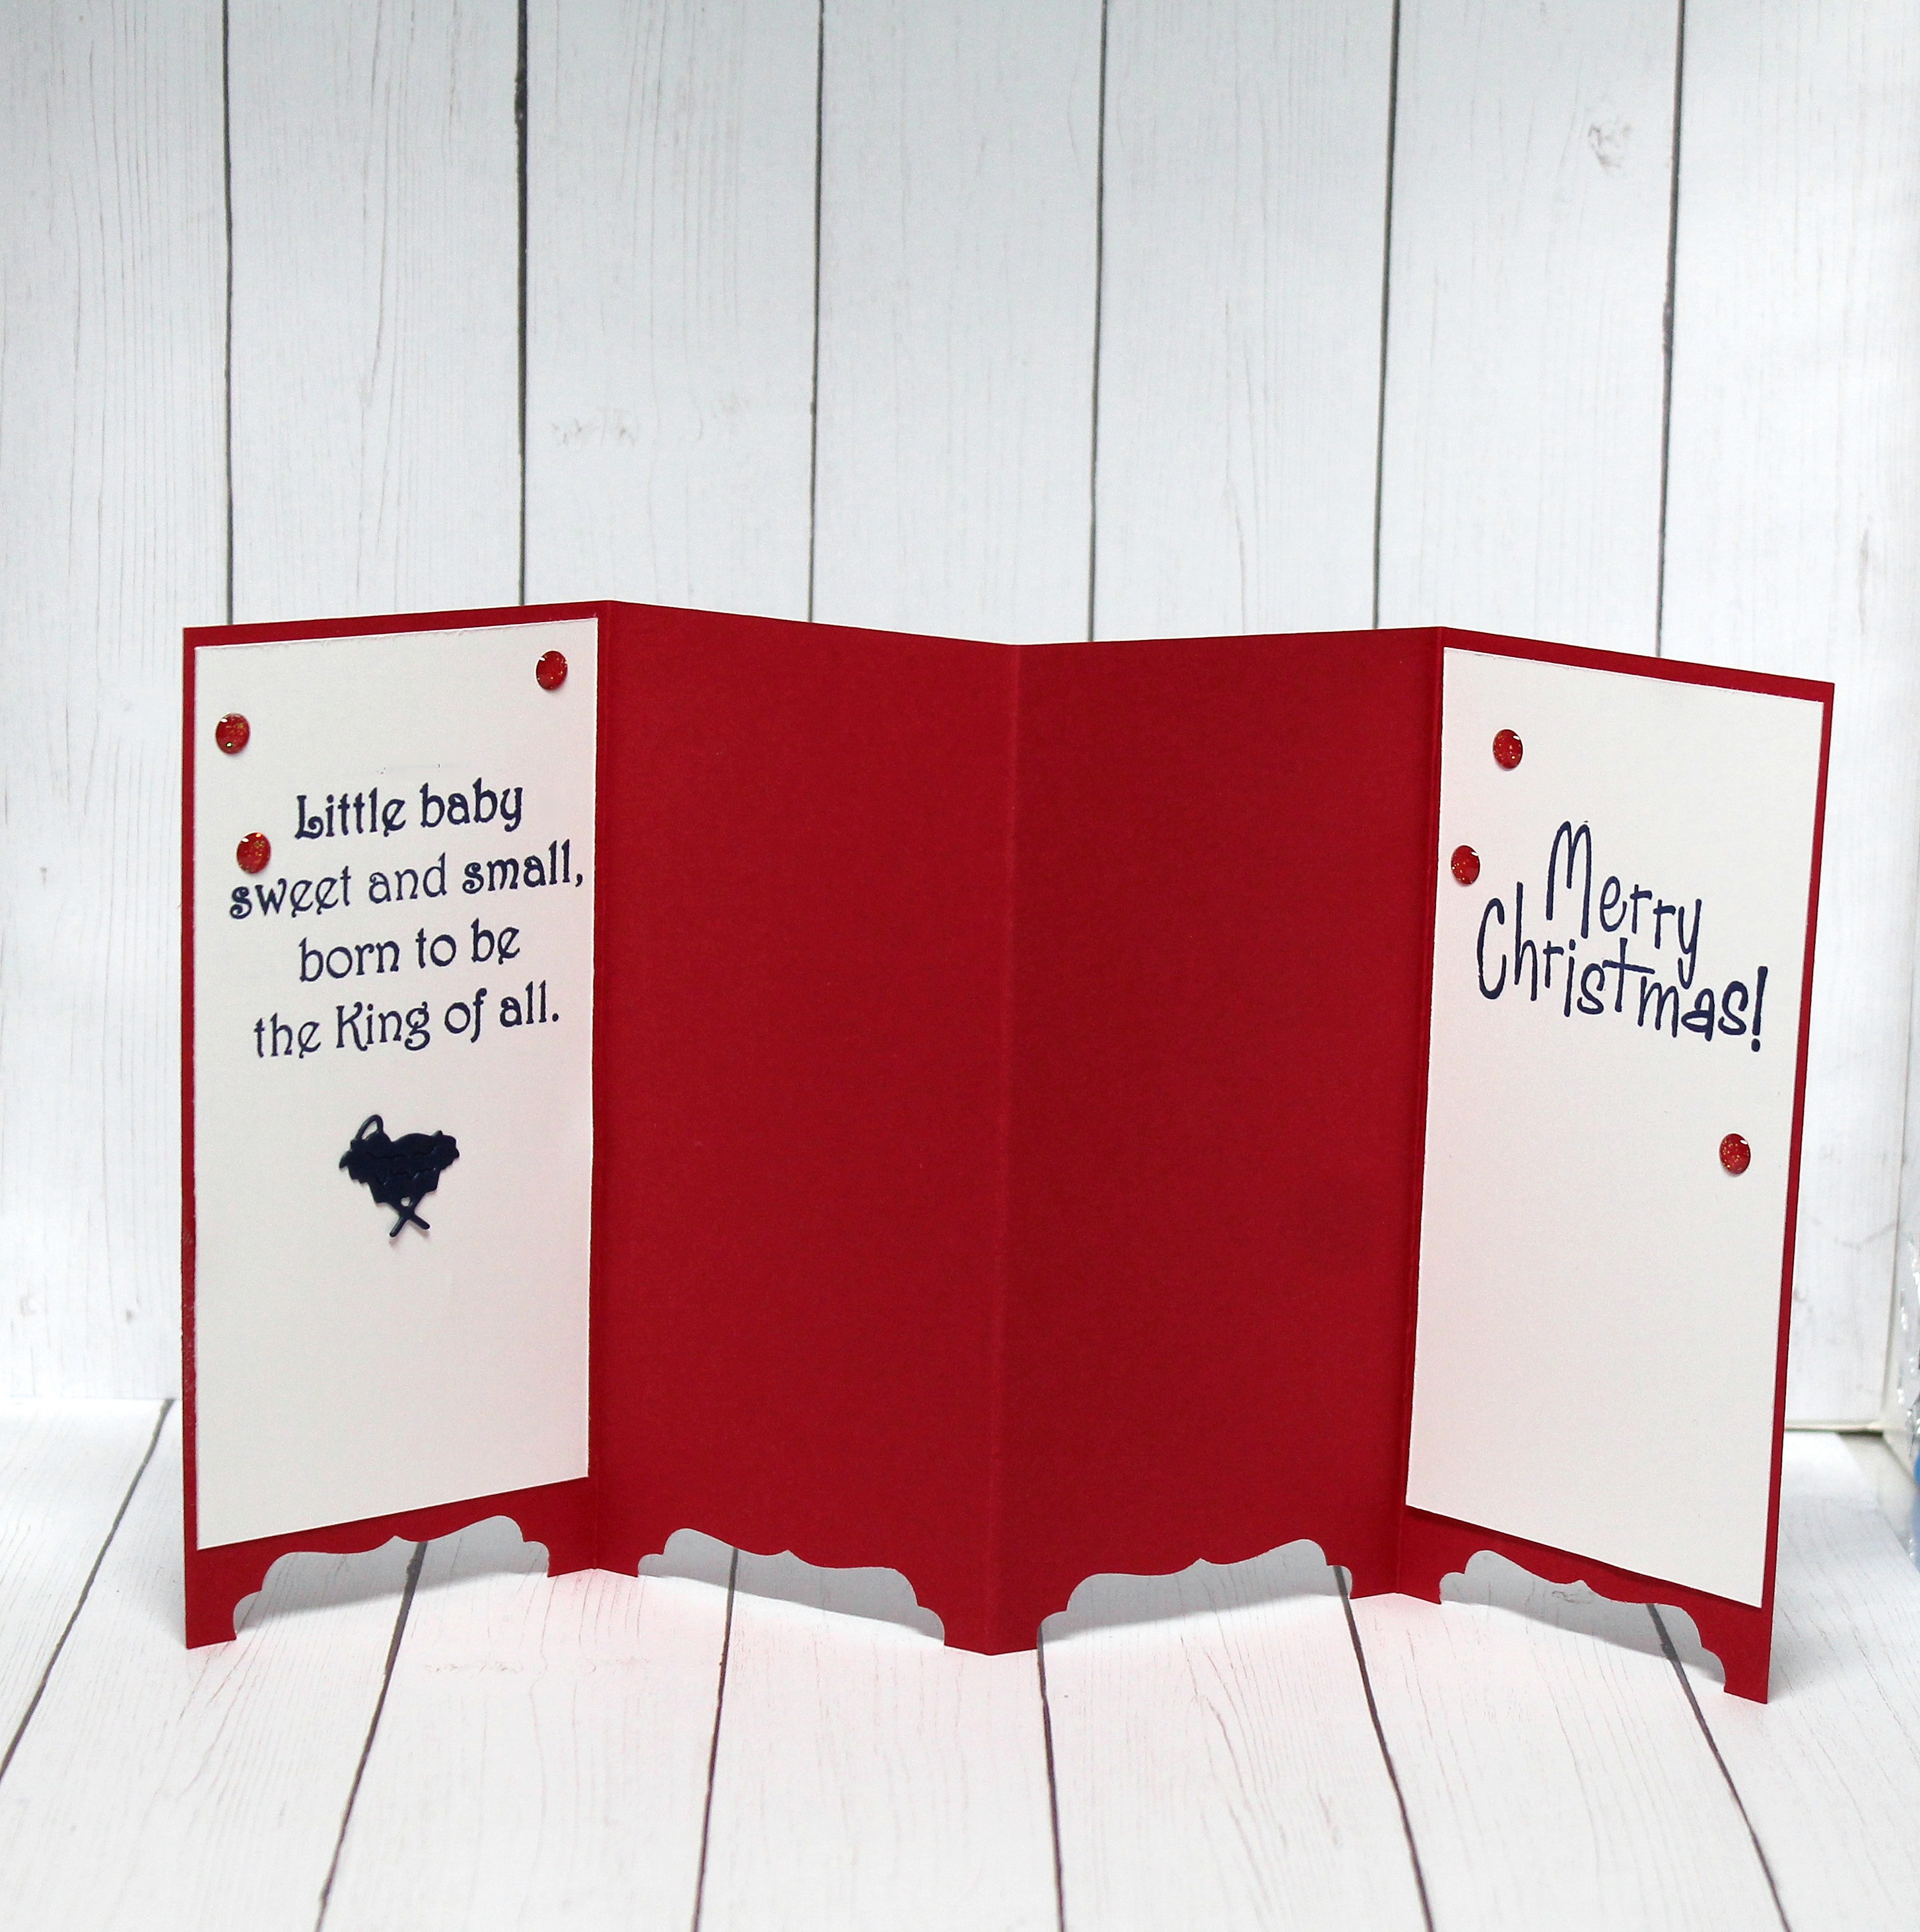
For the back of the card, I added white cardstock to two of the panels and stamped 2 additional sentiments. Scattered a couple of red glitter enamel dots and this card is finished. I hope I have given you an idea for a way to use these new nativity dies. See you next Saturday!
Reminder: Our YouTube Channel has a new video from Marla Harris. There is a giveaway for being a subscriber, liking the video and leaving a comment. Click here.
Dies I used to create card:


